
 Get your Monthly Free
Playstation Plus Games:
Get your Monthly Free
Playstation Plus Games:


At the time I started planning this project, there were a few different pinball emulators to choose from. Future Pinball, Virtual Pinball 9 and Virtual Pinball 10. These are different public / open source (not sure) pinball emulators / creators. They can be used to create you’re own tables or play tables / recreations created by other users. You can find plenty of resources here to get you started building your own virtual pinball cabinet : https://www.vpforums.org/
During the researching process, it was difficult to get a consensus on the minimum specific computing power I would need to run the emulators. Being on a budget, I picked a middle of the road mother board and a moderate amount of memory to go with it. I new I wanted to go with the 3 Screen setup. One for the main play field, one for the backglass and one for the DMD display. I ordered 2 graphics cards, one with multiple outputs of which I’m using 2. The other card has a HDMI output that I’m using for the playfield.
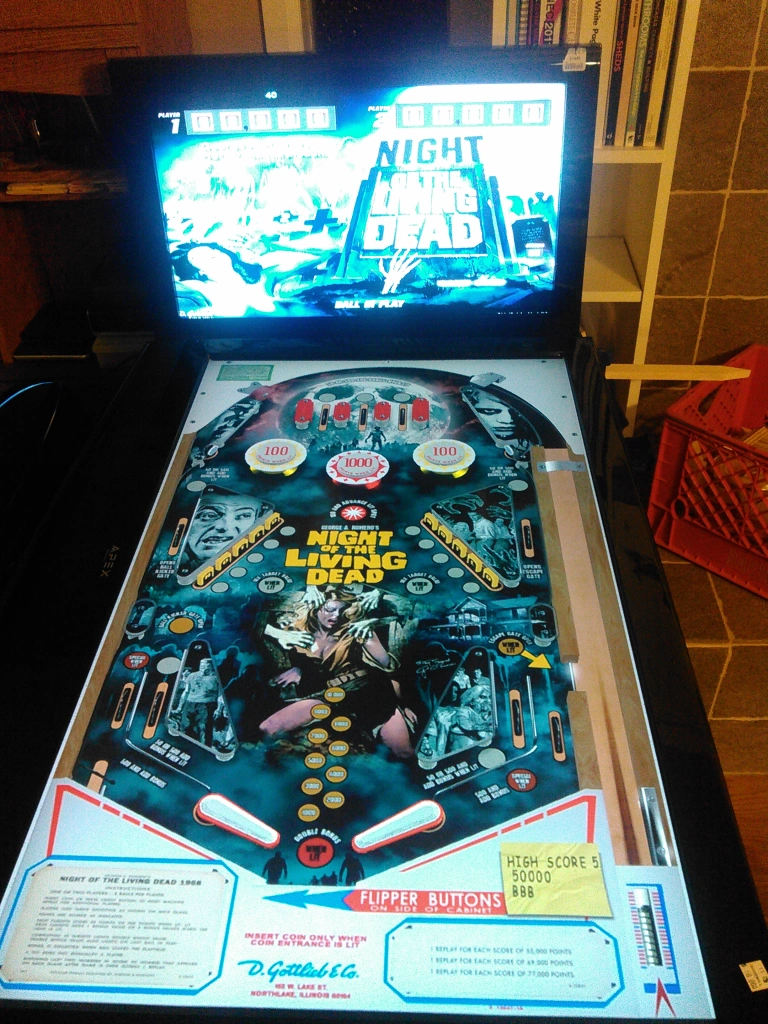
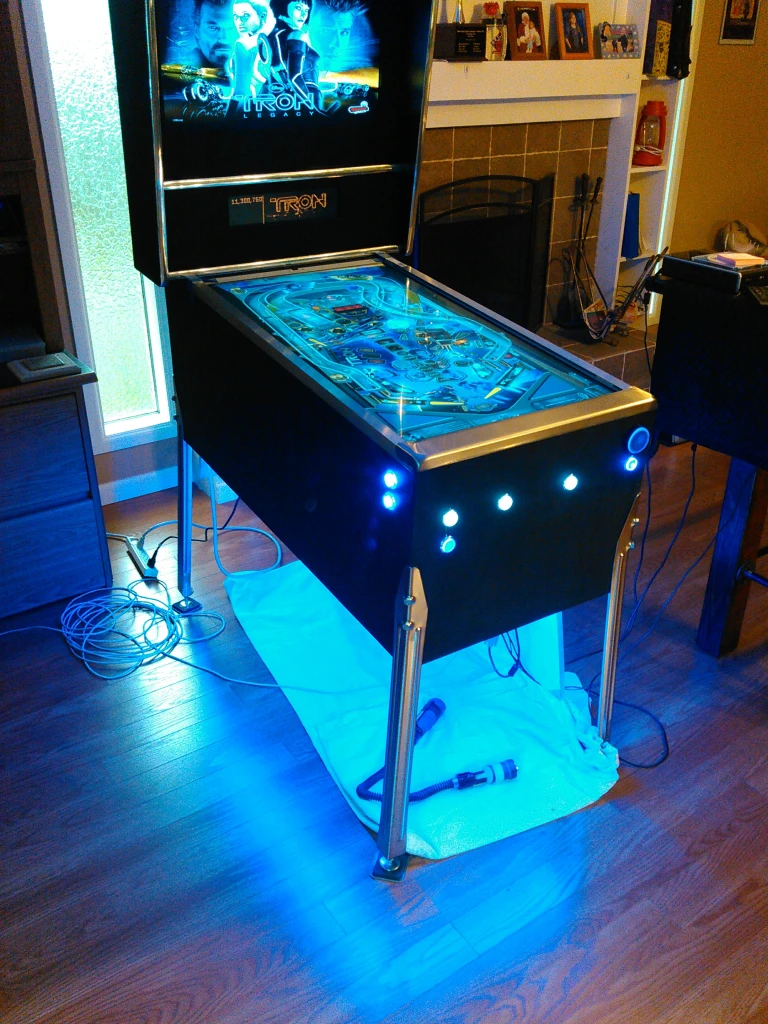
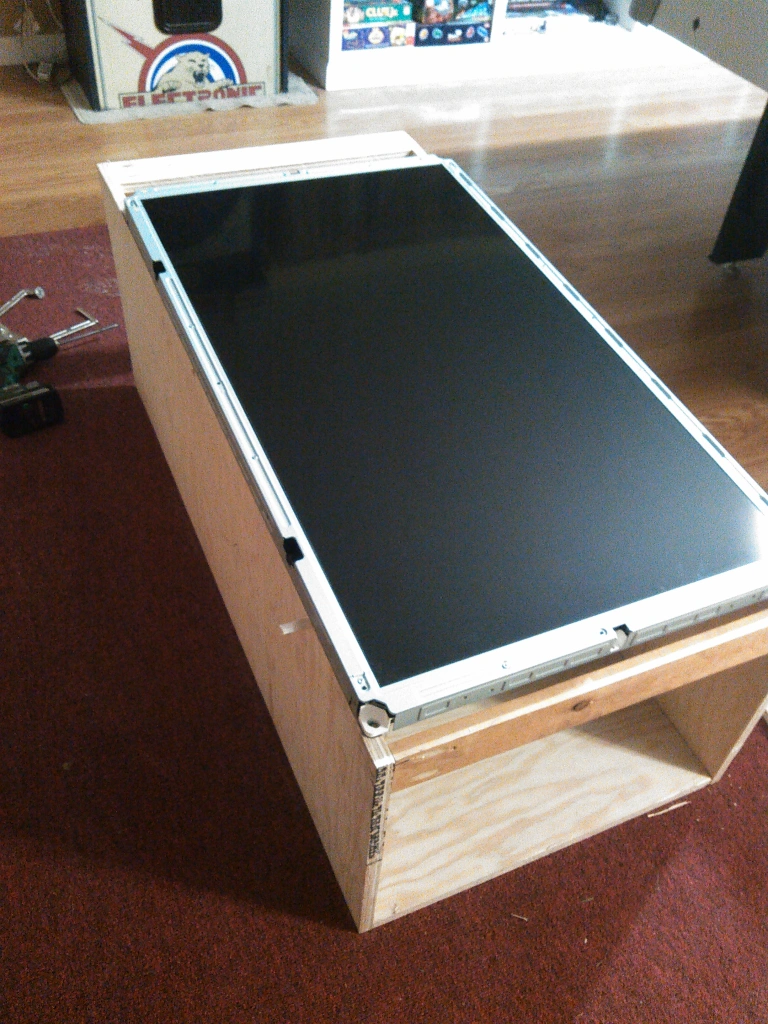
Here is the initial screen setup. The play field screen is a 40 inch. The back glass screen is a 26 inch. One thing to keep in mind while you’re looking for monitors/TVs is that you find ones that will power on automatically when they receive a signal. Most do, not all though. The 40 inch that I used for the playfield does not (not that I found in the settings). My work around for that was fairly simple. I planned on stripping down TV out of the plastic casing when In installed it. What I ended up doing was extending the power button conductors to an external button that In installed on the bottom of the cabinet. When I power up the cabinet, I just reach under the cabinet and press the button to turn on the playfield screen. The TVs / monitors were all scores from the local goodwill stores. People upgrade monitors and TVs all the time so you can usually find a great deal on something. I think I paid about $20 for the 26″ TV and about $50 for the 40″ TV.
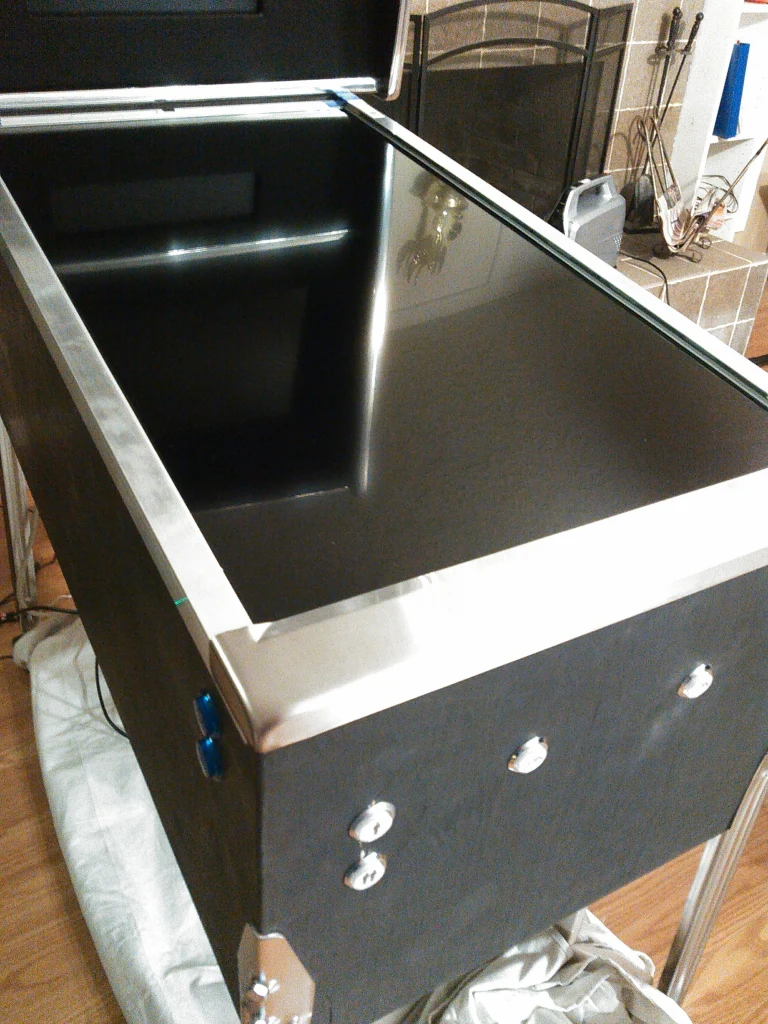
One thing I definitly knew I wanted to have was an actual pinball maching lock down bar. It’s the bar right above the flipper buttons where the palms of your hand rest on. I’ve seen pictures of some other builds where people just have a mitered corner of two pieces of angled aluminum.. like 1″ x 1″. I knew I didn’t want that sharp edge right under my palms when I played. That would have taken away from the authenticity of the machine. So, with that in mind, I searched the internet to try and find that crucial inside measurement of a pinball lock down bar. I came up with a measurement, then calculate from the outside in to determine if my 40″ TV was going to fit. I have the lock down bar, inside of that is the side angle aluminum, then a 1/4″ of plywood sheeting the side and finally the side of the 40″ TV. In the end, I think I got lucky, because it all fit together like a glove.
Last thing in the planning phase.. A lot of people built their cabinets with the plastic casing still on their playfield TV. That leaves a large bezel around the edge.. I think that also takes away from the illusion of a real pinball machine. I wanted my screen as close to the edge of the cabinet as possible. I stripped my TV down and mounted it on top of the 3/4″ plywood sides of the cabinet. You can see this in the first image of this post. I then skinned the sides of the cabinet with 1/4″ plywood and brought that up flush with the sides of the playfield TV. Also, 3/4″ on the front side of the cabinet, also flush with the playfield TV.


Leave a reply
You must be logged in to post a comment.